Showing posts with label Sewing Crafts. Show all posts

Sunday, July 20, 2014

J'taime Paris

Last weekend, I made a third "One Hour" Skirt. (The second being the Anchors one.)

I had decided that I don't fully like how "froofy" the skirts are when made according to Brett's directions in the book of "Take the measurement of your waist/where skirt will sit and make 2 rectangles of that" (I paraphrased), so instead when I measured my hips, I subtracted several inches (I think I subtracted 10-12 inches, total) and then made both rectangles with THAT measurement.

So, for example, if my hips are 40", I said they were 30" and made the width for the rectangles each 30", instead of 40". This had GREAT results, and I really like how it fits me. Which is good news for me because it means that I have developed at least enough skills to determine if/how something can be more suitable for what I need/want. Hooray!

And, I believe this skirt took me 1.5-2 hours, including sizing, cutting and sewing, with a few mistakes that had to be undone, so I am getting closer and closer to the One Hour mark that the author believes it should take. And I'll be making more of them, most likely, so maybe I'll hit that mark soon.

Here's what the latest looks like:

I love all the bright colors!


Drawstring Ditty Bag


A few weeks ago I made a very simple drawstring bag, the perfect size for small gifts or carrying snacks or something.  I think, total, this took me about 15 minutes. So it's nice to know I can whip something together quickly if I needed to. :)


Anchors Away!

A couple weeks ago, I made another of the "One Hour Skirts" from Brett Bara's book.

I had seen this particular fabric at Joann for a while, and I knew I had to have it for something, but kept always not getting it. Well, one day I had a 50% off coupon and I knew exactly what I was getting, at long last.

I brought it home, washed it, and made my skirt as soon as possible. I made it the week of July 4, and how perfect it is for a patriotic look. :)

And just how perfect is it that my vintage sign about joining the Navy is behind me in this picture? :)


Ground Control to Major Shaun

I recently made a second pair of Pajamas for the hubby, this time in a space themed fabric he picked out. (The first pair, which was my first-ever sewing project, can be found here.)

On one of my (just about weekly) trips to Joann Fabrics to wander around, Shaun was with me and saw this space themed fabric and loved it. I asked if he wanted more PJs from it, and he over-eagerly said he did. After seeing that Pluto was included,  (Sorry, Mr. Degrasse Tyson, Pluto IS a planet. ;)) I willingly agreed and we got the fabric.

It was about a week  before I got started on them, but had them finished within just a couple days. Much faster than the first time they were made, but that's the advantage of continually practicing and making more projects: Things start to make sense. :)

Here are his spacey pjs:


Tuesday, May 27, 2014

Bags for Sale

So, with my Cupcake Purse getting so much attention, and with how easy it was for me to make, I decided this would be the bag that I would make more of as a starter for things to sell. So I've been working on a couple more, and I will soon put these up for sale. (I will put them on Etsy, but first need to make an account.)

Here are the bags I made to sell so far. What do you think?

(The Door Knob doesn't make as pretty as a background as the window, but hey, it works to get the job done. Haha.)

As always, click on the pictures for larger images.


It looks like the clasp is right on top of the pocket, but I think it's just the way it's hanging.


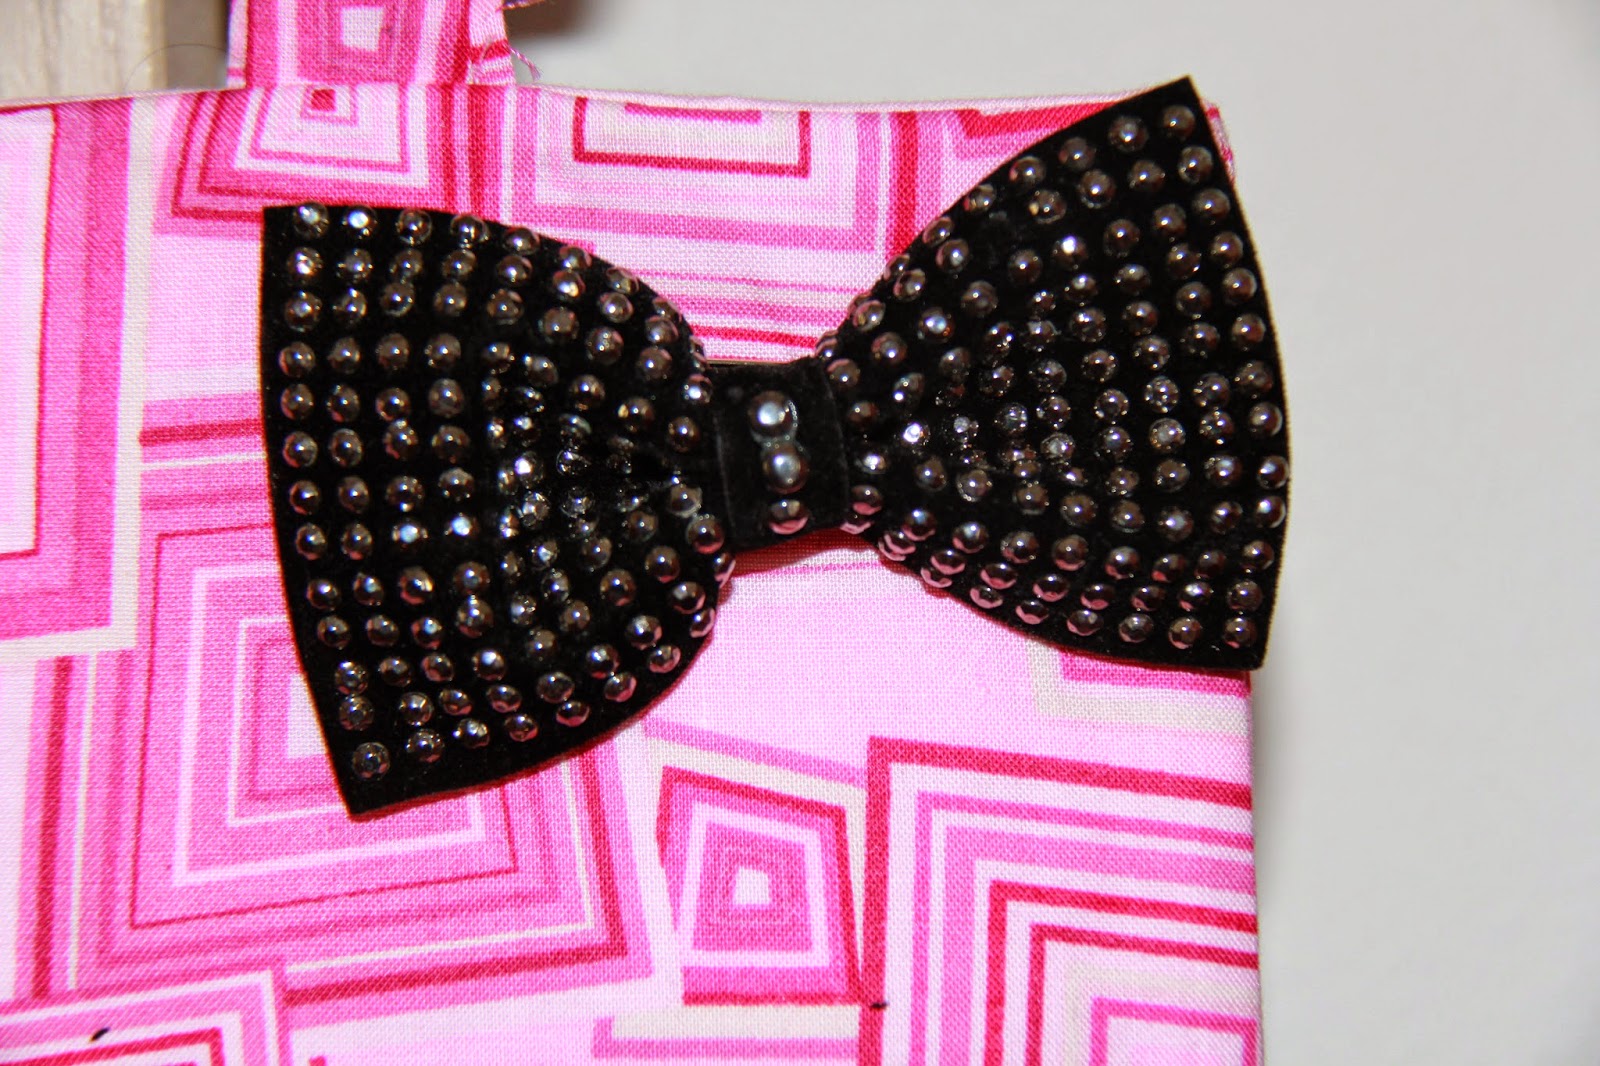
Isn't this bow stinkin' adorable? I almost want to keep it for myself!


This bow is handmade by me-the first handmade one on a bag. The others are bought. What do you think? I love it!


Project Failure: Maxi Dress

Sometimes, even when following directions to the T, you get a failure when making a project. Sometimes, as in this case, following the directions is what CAUSES you to have a failure.  So I am here today to share a recent failure for education and hilarity purposes.

So, I was working on the Shirred to the Max dress from Brett Bara's Sewing in a Straight Line book (the same one I made this skirt from). The book, in general, has good ideas and I am still interested in trying other projects from it. But this project does NOT work, if you follow the directions as laid out in the book. Unfortunately, I learned after the fact that I am not the only one who had this problem-more on that in a minute.  The direction for taking your measurements is: (this is exact quote, for educational purposes)
1.measure + cut
Bust: Measure your bust circumference and add 1" (2.5cm) for measurement A.
Dress Length: Measure your desired dress length and add 2" (5cm) for measurement B.
Cut two rectangles that are as wide as A and as long as B. 
So, that's what I did. I made 2 rectangles that were 42" wide (chest plus one inch) and 44" long (desired length plus 2 inches for hemming), and got started following the rest of the instructions. I made the first French Seam, followed the shirring directions, which in of themselves took FOR-EV-ER to do, and then I noticed that even with the bunching that elastic causes, that it was VERY large. It would have been large on someone 6-8 sizes bigger than me.I wish I had thought to get a picture of that phase, but I was just too upset. 

In frustration and not knowing what to do to fix it, I gave up for several days. When I came back to it, I decided to just cut some off the sides and try and make it work, so I wrapped it around me to see where the parts would meet on my body, then subtracted a few more inches (since elastic stretches) and took the scissors to it. Them I did the second French Seam, and Hemmed it where I would ultimately want it to Then, because I am not a strapless person, I used coordinating (perfect match, really!) ribbon to make straps.

Then to try it on, and well....


Even after chopping it down, and adding straps to help hold it up, it's STILL too big for me. Note the sad face. This is what happens when you spend, between all days it was worked on, more than EIGHT HOURS OF YOUR LIFE working on something  and it turns out to be for nothing.

I took my frustration out on the dress by reclaiming the fabric. I had my husband hold it taught and took the seam ripper to it all. So the bright side, if there is one, is that I learned how to deconstruct garments, and I was able to reclaim all but the shirred part of the fabric-so I have about 3 yards to make something else with, which I will.

So I did say that I learned too late that I was not the only one that had this problem. The first day, after I saw it was going to be too big, I went internet searching for solutions to the issue (which there are none, it seems, at that phase of the game)  and I found some Amazon reviews that basically said the same thing I had issues with. So at least I am not alone. Other sewers, I commiserate with you!

So I think IF I ever try this again, which I don't know that I will, I think I will attempt it with half the measurements. i.e. If My Chest is 42", I will cut the rectangles to be 22" inches each (chest divided by 2 plus 1 for each side). Maybe that would work better. Maybe some day I'll find out, but for now, I'm good with not doing so....

I hope that if anyone stumbles on this blog, that it is before you begin this project, and that you  learn from my troubles! Good luck to you, and please comment if you tried it and had success! I would love to hear from you!

Monday, April 28, 2014

Tasty Bag

A couple weeks ago, I found instructions online to make a bag with a fat quarter, and when I found this cupcake fabric, I knew right away what I must do with it!  It combines two of my favorite things, pink and cupcakes, and it's just begging to be used and shown off.

I had started on it about a week ago (cutting, etc.), but didn't have time in the week to work on it. So yesterday, I sat down and finished it. It was really easy! I followed the instructions in most ways, and added to them in some ways. For instance, the bags in the instructions don't have pockets, but I added one, because really, you need pockets! Or at least I do.  This was also my first time installing a magnetic snap, and it was such a snap to install (no pun intended). Had I known how easy it is, I would have used it for this bag--although, I struggled with that bag anyway, so who knows.

Anyway, here is my latest creation and the bag I am carrying as of now. I LOVE it and how it turned out.  The photos just don't do the color justice. At least for the inside, which is a vibrant, almost tie-dyeish look. When I was done with the bag, I felt it needed something. So I went to Joann and found this. Voila! Perfect for the bag! :)

What do you think?

Outside of Bag

Pretty Flower :)

Inside of bag, and pocket.
Close up of inside of bag.

Sunday, March 23, 2014

Cherry Blossoms Skirt

Yesterday, I made the "One Hour Skirt" from Brett Bara's Sewing in a Straight Line. This is a great book for people, like me, who are new to sewing or need to brush up on their skills. There are a lot of great projects in it that look like they will teach you a lot.

While this skirt took me closer to three hours, instead of one as its name implies, that was more because I spent an inordinate amount of time staring at my fabric wondering how I was supposed to get two 22.5'' pieces of fabric from a 42'' width fabric, not accounting for the fact that I was cutting it from the length. Lalala, special moment there. I was surely not with it yesterday. 

It also took me more than the one hour because I was reading every step carefully to make sure I understood it correctly because I did not want to destroy my beautiful fabric-so at least there's that. I also had some elastic that I had to put in 3 times because it kept slipping out-little pest! But I thought of a genius solution to that: Once you enter the end with the safety pin to slide through the casing-safety pin the other end to the fabric itself. Voila! No more end slipping into the casing where you can't grab it.

With this skirt, I learned a new skill: a French Seam. This seam is used in garments to encase the raw edge of fabric so it looks nicer and, and also keeps it from unraveling. It's really easy once you learn it, and now I can say "Yay! I have a new skill!"

I am really proud of this skirt and I can't wait to make more! I think I will experiment with lengths and fabric weights and get a whole collection for my closet And I bet it will be much faster next time. :)


Under the Sea Pillows

Last week, I randomly felt the urge to make a small pillow-what I would use it for, who knows-but make one I would! I think it was more to know I could... So I made these out of  a fat quarter. The first one was smaller that I would have wanted-I think I was thinking of other measurements and did that-but it's OK. So seeing it was small, I used the rest of the fabric and made a second one, and ended up with two cute decorative pillows:


The Husband Unit is pretty happy about having Octopus mini-pillows.

Sunday, March 9, 2014

Skully Glasses

I recently decided that I should make at least one project a week to keep improving my crafty skills, especially the sewing. So this week, I decided to make a glasses cover for my sunglasses, an idea from Sew What! Bags by Lexie Barnes. This is a great that gives general ideas and measurements for various types of bags-tote bags, small things, etc.

So I made this glasses case for my sunglasses:


That plaid lining is actually from my favorite pair of PJs that ripped over Christmas in a way that was too jagged to repair, so I decided to keep it to be harvested/re-purposed for small projects. It's a great way to get practice fabric, and in this case, it is so soft, it's perfect to protect glasses from getting scratched.

This was a super quick and easy project to make, but I think I mis-measured my sunglasses and therefore made the case a bit smaller than I would have liked by roughly half an inch. It was very cozy around the sunglasses.  But that's OK, that what these projects are for-to learn and improve and be able to adapt.  I think I will make another one soon and make it  bigger so it can have some wiggle room.  Other than that, I think it's cute and I like it.

Kitty Make-up Bag

After making this bag, I wanted to make one for our friend Debbie. As you may have already known from this post, she really likes kitties. It happened by pure luck/circumstance that I just so happened to have found some kitty fat quarters that were related to kitties, and really, these were just too adorable to pass up. So I made the same makeup bag again, following a pattern from a blog I had recently been following: So-Sew-Easy. (The previous bag, of course had been made from a pattern she made, too, but I forgot to link to it.)

 So-Sew-Easy has TONS of great advice and projects to complete, to make people better at sewing. So far, the make up bag is the only of her projects I have done, but I have my eye on some of the other things she's posted that I hope I can get around to soon. Anyway...

So here's the kitty bag I made about a week or two ago, What do you think?


Sunday, February 23, 2014

The Little Makeup Bag That Could

Oh, Boy. I've been a terrible little crafty blogger again, and haven't updated in a long time. I am really going to work on updating the blog as I make my various crafts-sometimes it's hard though when the object is a gift and you don't want to spoil the surprise. But I'll work on doing better, I promise! For now, let's get caught up-there will be a lot of posts one after another. Here we gooooo.....

Here are some make-up bags I made recently. They were pretty easy - once I remembered which cut edge was the top and bottom anyway! I had sewn the first part and then went "this doesn't look right" so had to consult the video again and again to get it right. Oh well, that's all part of the learning process. :)

This was my first time sewing a zipper, so I was really proud of how well it actually turned out. It's not PERFECT, but it was a good first one.

After I made the first one and saw how big it actually was (I thought the seam allowance would have reduced it more), I wanted a smaller one to actually carry in my bag. So I reduced the pattern by 50% and made it again, and this is what I got:

It turned out to be about the size of a coin purse, so it doesn't hold much- but that's actually perfect for me. It's big enough to hold my mascara, eyeliner, chap stick and lip gloss, and that's about all I wear so it works for me! :)

But I did decide that, unless I am hand sewing it, I will not make one this small again. The tiny corners and short seams made it take longer than the larger original. But Trial and Error and practice are what we learn from.

Skulls 'N Roses Bag

Oh, Boy. I've been a terrible little crafty blogger again, and haven't updated in a long time. I am really going to work on updating the blog as I make my various crafts-sometimes it's hard though when the object is a gift and you don't want to spoil the surprise. But I'll work on doing better, I promise! For now, let's get caught up-there will be a lot of posts one after another. Here we gooooo.....

I made my very first handbag/purse recently. Since I am such a newbie, and the pattern didn't make the instructions explicitly clear, there was a lot of frustration in making this bag. There was much cursing, crying, walking away from the sewing machine, and YouTube-ing. Ultimately, I decided to do things in a way that made sense to ME, and it then it was TA-DA!  A very Erin-Like Bag!

I just love it, and have been getting many compliments and requests for me to make some for other people.

What do you think?


Saturday, November 2, 2013

Kitty Cat Apron(s)

I made this Kitty apron for our friend Debbie. Hubby and I found the fabric and thought it was adorable, so I snapped it right up.


I was plugging away on the apron and realized, as I was putting the pockets on, that I had cut the pattern upside down! OOOPS! Rather than waste perfectly good materials, I decided to finish the apron and just make another for Debbie. So We got this material and I made the apron below. The positive side is I learned that I can make this style apron-from pinning and cutting fabric to completely done- in about  3 hours. I was impressed and pleased!  Also, that Debbie liked this one more because she LOVES colors on dark materials. Win, win. :)


Sunday, October 13, 2013

Apron de los Muertos

Oh, my, my. I have been a VERY naughty blogger and have not been keeping up on updates. Well, time to fix that! You'll see a lot of posts in rapid fire as I get caught up. Ready? Here we go! Post 6....
Whew! Didn't I say you'd see rapid fire? Last post for tonight, I swear! :)

My second completed sewing project was an apron for myself. The husband saw this fabric a couple weeks ago and pointed it out to me and I knew I had to have it! We LOVE the Dia de los Muertos (Day of the Dead) "Sugar Skulls" design.  (I even made him this cake for his birthday a few years ago as a surprise.) So I made myself a cute apron with it: